Hello All… Today we will learn, How You can install WordPress on your local machine using Bitnami WordPress.
What you will learn after reading the article?
What is Bitnami?
Bitnami WordPress Stack.
Installing Bitnami WordPress Stack.
Downloading Bitnami WordPress Stack.
Installing Bitnami WordPress stack step by step.
Running Bitnami WordPress stack in your local host.
What is Bitnami?
Bitnami: Bitnami is a software package and library of installers. It gives all the features to web developers in a single software. Bitnami stacks are available for the most used web development environment like WordPress, Zoomla, Drupal, magneto, and many others.
Bitnami WordPress Stack
The Bitnami WordPress Stack gives you WordPress, MySql Database to manage data, Apache Web Server for pages, Open SSL for encryption, and PHP for managing the data in MySql. All these applications come within a single installation.
Installing Bitnami WordPress Stack
You can install wordpress stack on your Windows PC and practice and learn WordPress. Also It can be installed on Linux and Mac Os. The process is the same for all. Bitnami WordPress comes with the latest version of WordPress.
Downloading Bitnami WordPress Stack
Download Link : https://bitnami.com/stack/wordpress/installer
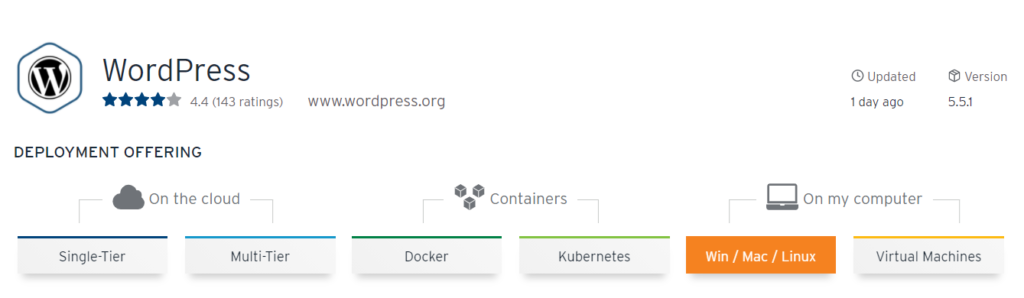
You will get the screen like below, On version, It is giving you version of WordPress which will come with this installation. You need to click the button showing Win/Mac/Linux.
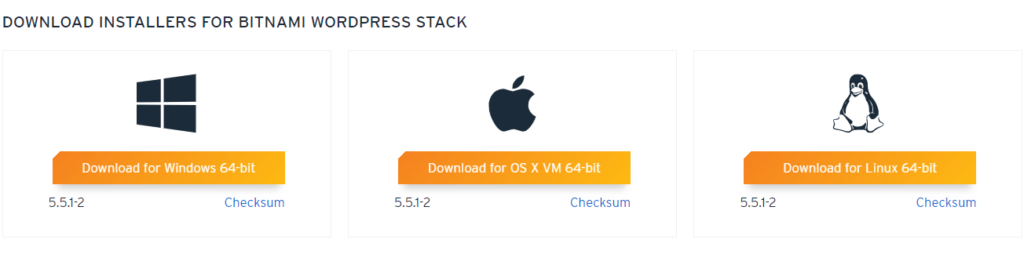
After Clicking the Link, You will got the below options for Bitnami WordPress installation. You need to click on your system’s OS and it got start downloading.
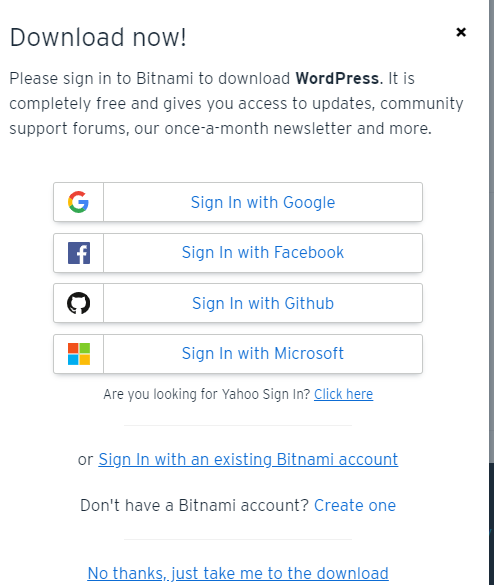
Then you got the option like this to login, you can login or just use the button link ‘No thanks, just take me to the download‘ . It will automatically start the download.
Installing Bitnami WordPress Stack step by step
Step 1
After downloading the Bitnami WordPress Application. You need to double click the .exe application. It will ask for your desired language (By default is is English). Just click OK
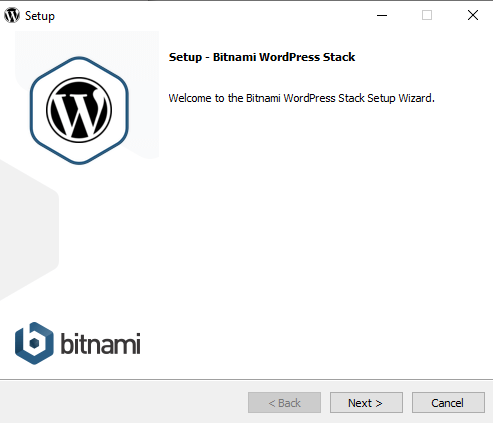
Step 2
You will see a screen like below, just click next.
Step 3
You will see 2 options, WordPress and PhpMyAdmin, Make sure you checkmark both and click next.
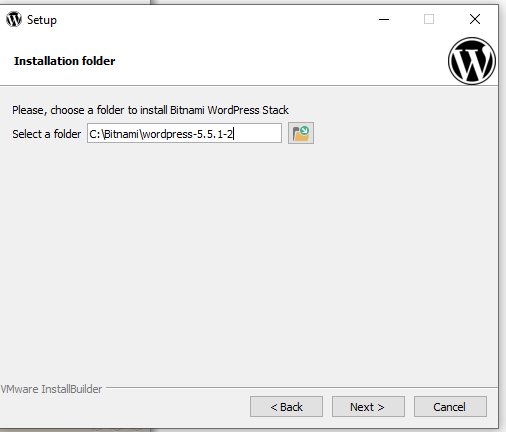
Step 4
Here, You will see a path of your PC where the Bitnami WordPress Stack installation. you can change as well. Click Next.
Default: It is installing in the C folder. (Not in program files).
Step 5
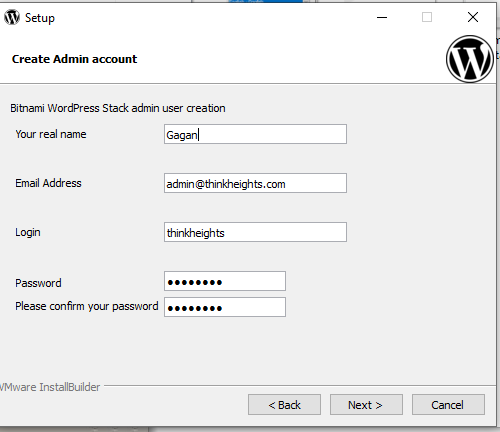
Here you get many options to need to fill. Your Name, Email, login username, and password.
Login and password used to login to WordPress. Make sure you remember. and email is used to recover the details If you forget. Click next.
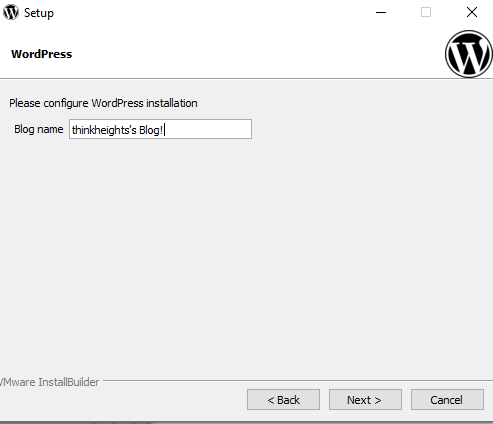
Step 6
You get the Blog name, which you can change here, also change later. Click Next.
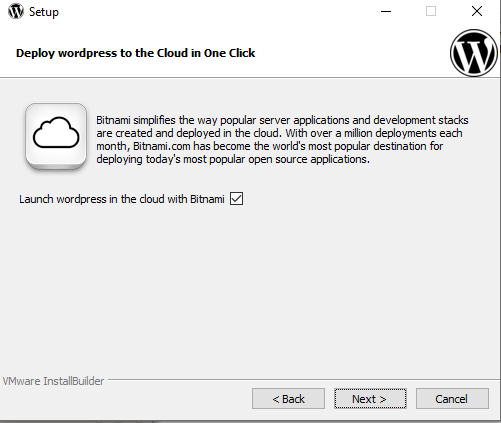
Step 7
If you want to launch WordPress in the cloud with Bitnami click the check box otherwise not needed. Click next.
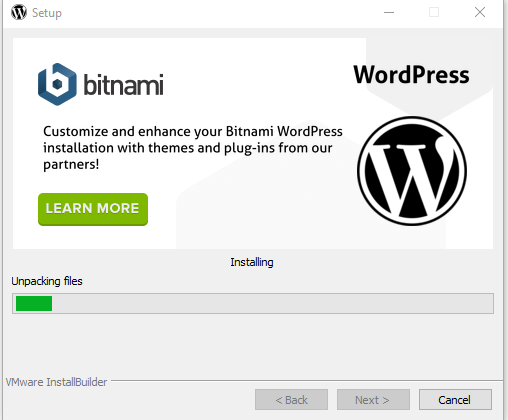
Step 8
And the installation begins, It will take a few minutes. After Installation click next.
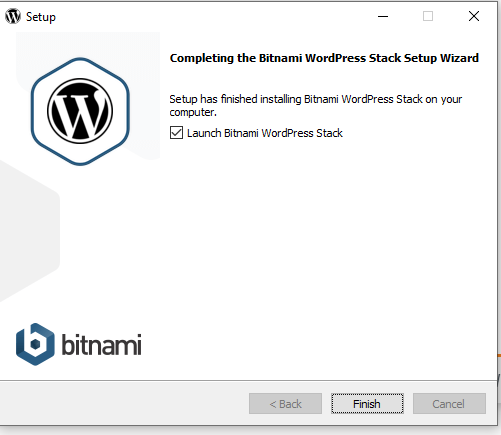
Step 9
Just click on finish.
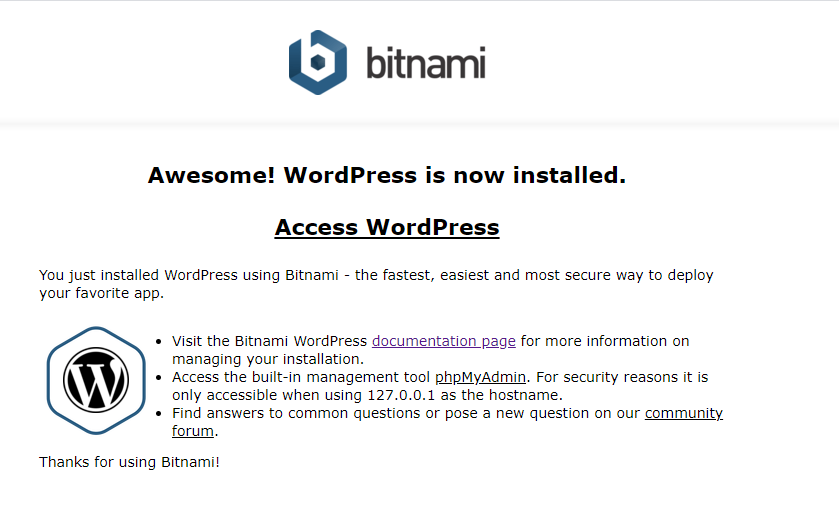
Step 10
It will automatically open in the browser. You can click on the link Access WordPress and check your WordPress site.
Running Bitnami WordPress stack in your Localhost
http://localhost: Getting the above screen
http://localhost/wordpress/ : for looking at your project
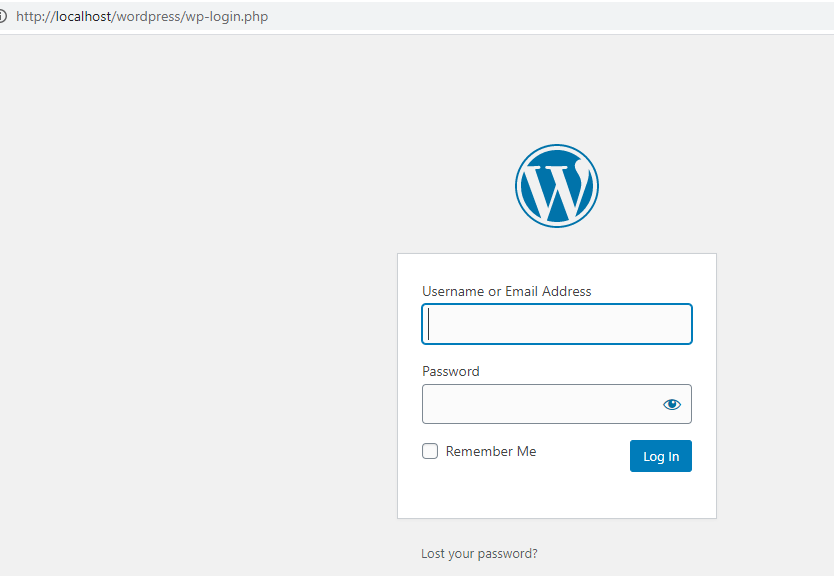
http://localhost/wordpress/wp-login.php : Getting login page of your WordPress where you will login with your credentials.
Login page will look like below, It will open in any browser
After login, you will see the WordPress dashboard from where you can change the themes and all WordPress development. You can start your project.
If you have any doubts, you can ask us in the comments.