Hell Friends…Today we will learn, how you can install WordPress on your local system or PC. This is a Complete Guide and tutorial of WordPress Installation step by step in your Local Host.
After reading the article, you will able to Install WordPress using Xampp by Own. There are many reasons to install Locally your WordPress site.
Backup of your website.
Testing your website before going live.
Any new feature you can check locally.
If you are a beginner, You can learn WordPress without any hosting or domain cost.
What WordPress is and WordPress's Requirements
WordPress in a free and open-source CMS i.e Content Management system. It is written in PHP. Hence You need a local server while developing a WordPress website. XAMPP, WAMP, LAMP, MAMP have mostly used servers. In this article we will talk about WordPress installation using XAMPP Server
You need 2 things to use WordPress in your localhost:
XAMMP
WordPress download.
XAMPP stands for:
X: Cross-platform
A: Apache server
M: MySql
P: PHP
P: Perl
5 Steps to Install WordPress in LocalHost:
Download WordPress.
Download Xampp.
Install Xampp.
Configure the WordPress in Xampp.
Run the WordPress in LocalHost.
Step 1: Download WordPress:
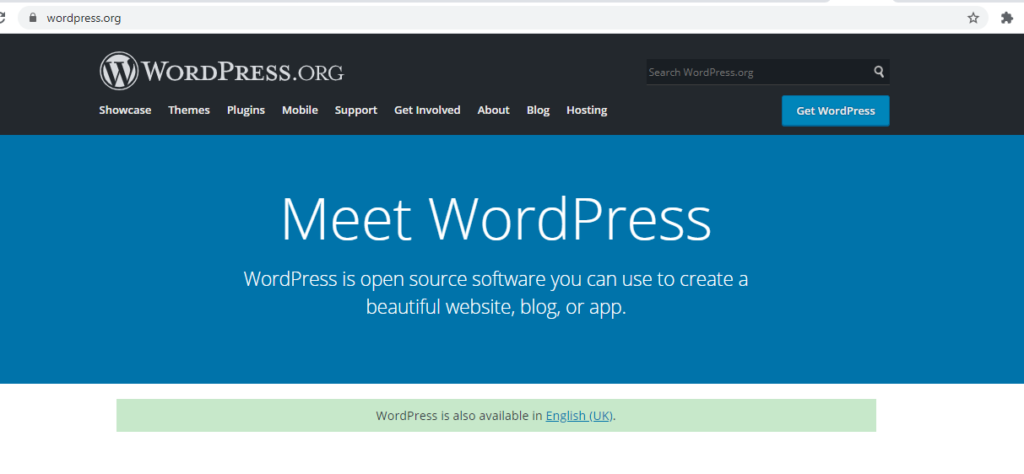
You can download WordPress from the wordpress.org site. When you open the wordpress.org, You will get the screen like below. Click on Get WordPress.
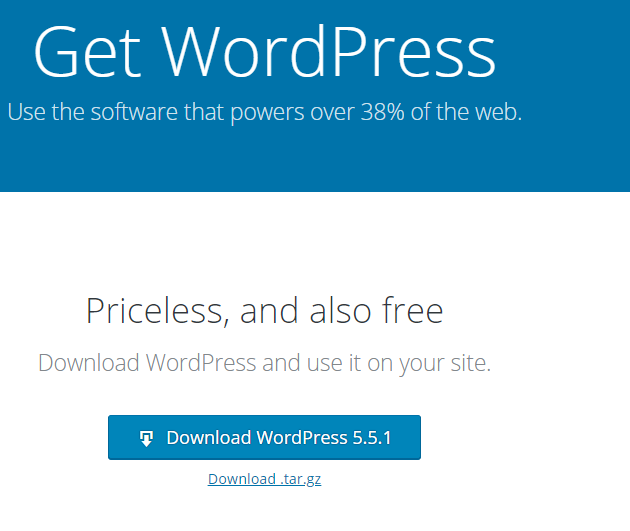
You get the below screen and got the download option for WordPress. Click Download WordPress 5.5.1. Your WordPress download will got started.
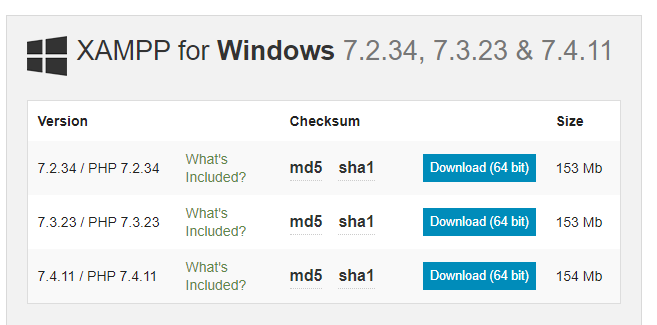
Step 2: Download XAMPP:
You can get the Xampp download link on the apache friend site. Xampp is a cross-platform software, Hence It is available for Windows, Linux, and Mac Operating systems. Just click on the download. Your Xampp download will got started.
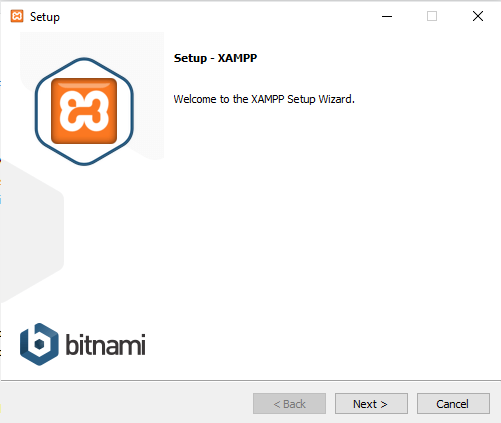
Step 3: Install Xampp:
After downloading, WordPress, and Xampp. Your next step is installing Xampp. Go to the download directory on your computer and double click the xampp-windows-x64-7.4.10-0-VC15-installer .exe file. After that installation begins. The below screen will Open and just click next.
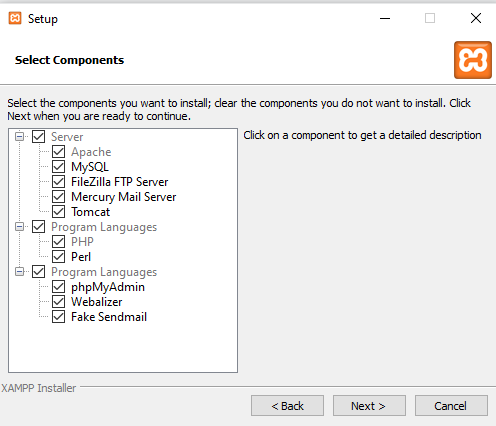
You will get below the screen, Make sure you tick mark the all checkboxes and Click Next.
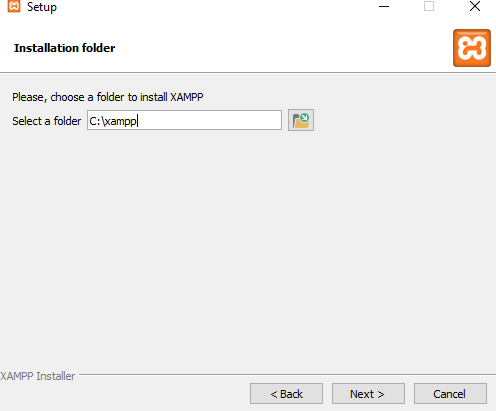
Now you got the path option where the Xampp Installation begins, By default, Xampp will install on the C directory (Not in programs), You can change the Xampp installation path if you want. Click Next.
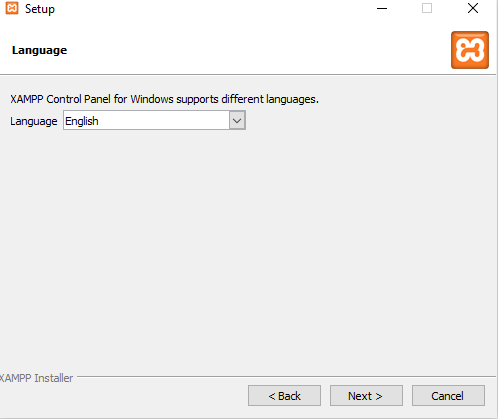
Xampp can be installed in multiple languages, You can choose your desired language for use. Click Next.
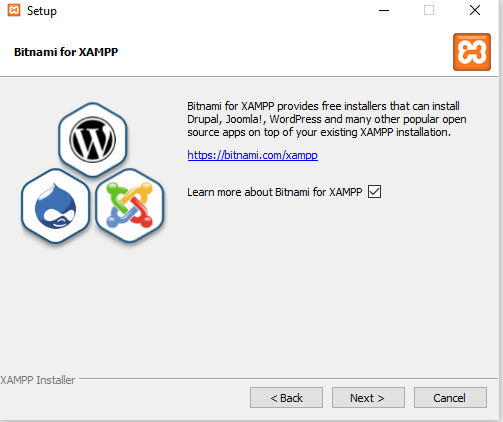
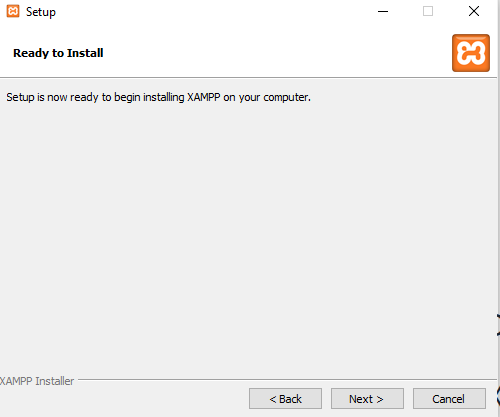
Just click Next.
Just click Next.
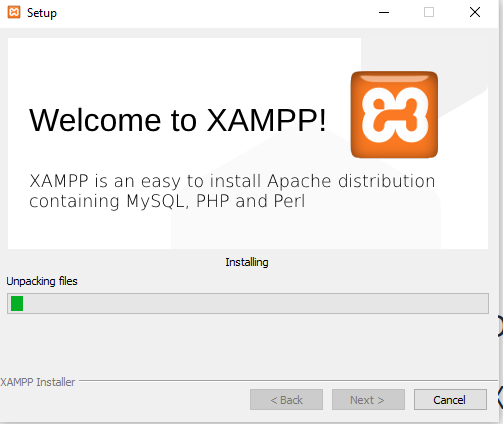
Now the Xampp installation will get start and It will take few minutes to complete.
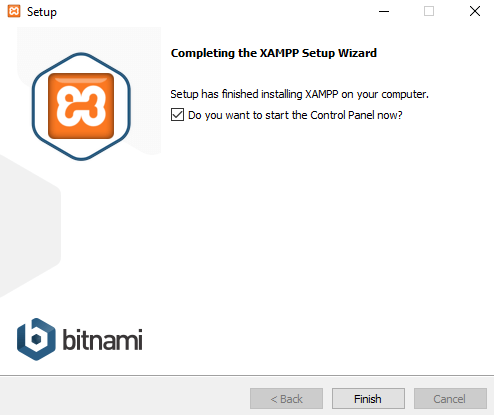
Xampp Installation is completed. You can click on the finish.
Just click Next.
Step 4: Configure the WordPress in Xampp
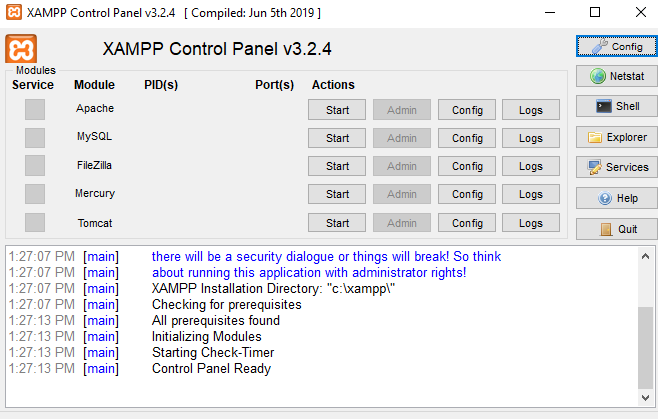
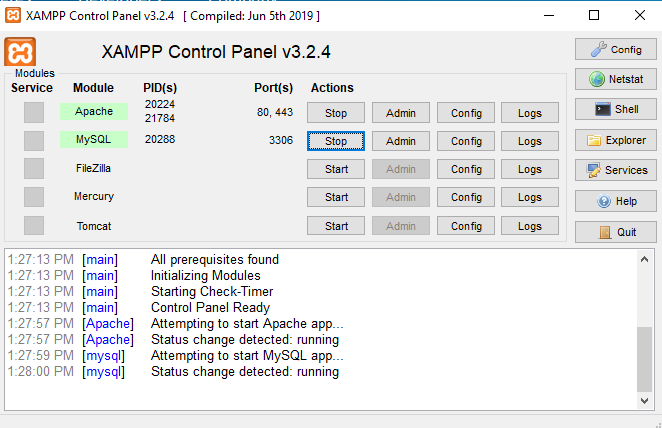
When you open the Xampp control panel. You will see Apache, MySQL, FileZilla, Mercury, and Tomcat. Also, you will see the start option. For WordPress installation you need to start the Apache and MySQL.
Start Apache and MySql in Xampp
After the start, You can see Apache and MySQL are running and showing Green.
Step 5:Run the WordPress in LocalHost
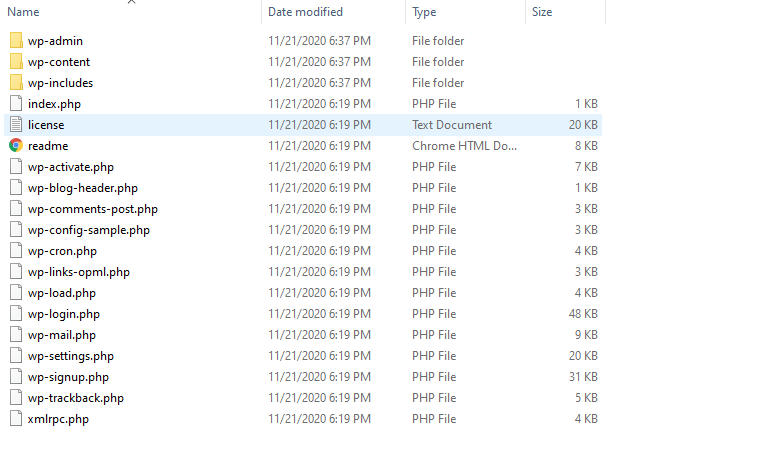
Now your next step is to extract all folders from wordpress-5.5.1 zip file (Which is downloaded Initially). Your files for Extracted in WordPress-5.5.1 Folder. When You open that, you will see the WordPress folder. Copy it (Control +c) and paste into path C:\xampp\htdocs and rename the WordPress folder to your desired name. When you open the folder It should like below.
Create Database in MySql
Now, You need to create a database for WordPress. As WordPress creates websites dynamically.
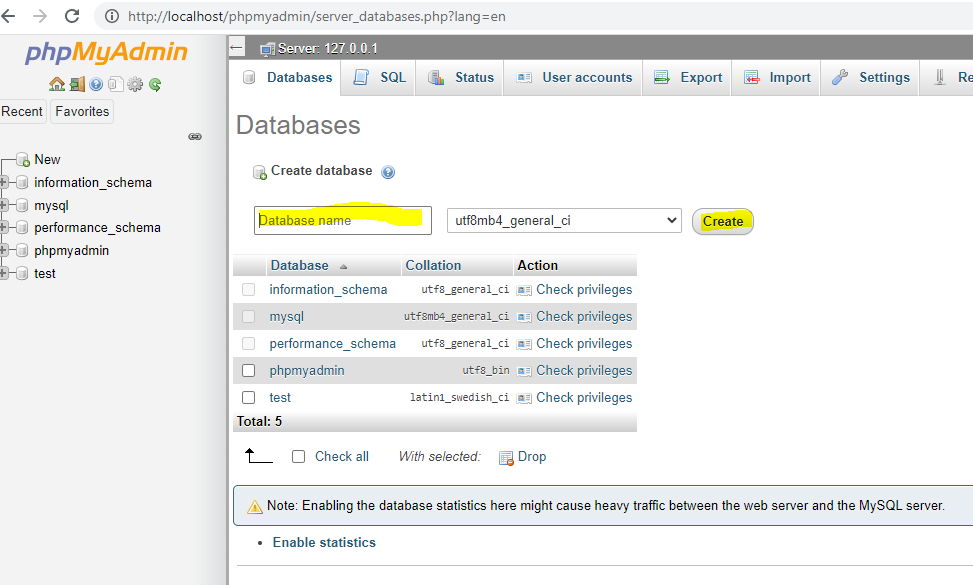
In Xampp, You got MySql Database, For Creating MySql DB, Need to open a browser and in URL address localhost/phpmyadmin/
You will see the dashboard and click on Database and Provide database name and click on Create.
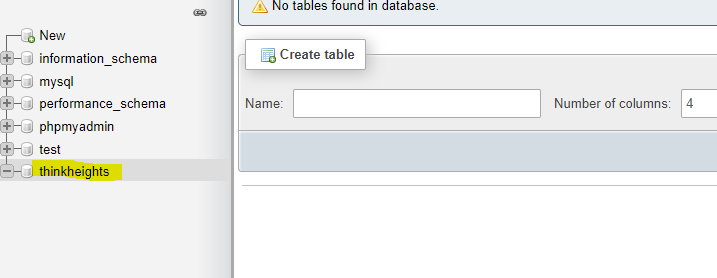
After the Database creates, you should see the below screen. and your database is created as Highlighted (Thinkheights). Now you can close the window
Note: Make sure Apache and MySql are running in Xampp, otherwise you will get an error.
Installation of WordPress in LocalHost
When we copied the WordPress files.in htdocs folder, we have named the WordPress folder as thinkheights. hence open the browser and run the localhost/thinkheights
localhost/your_folder_name
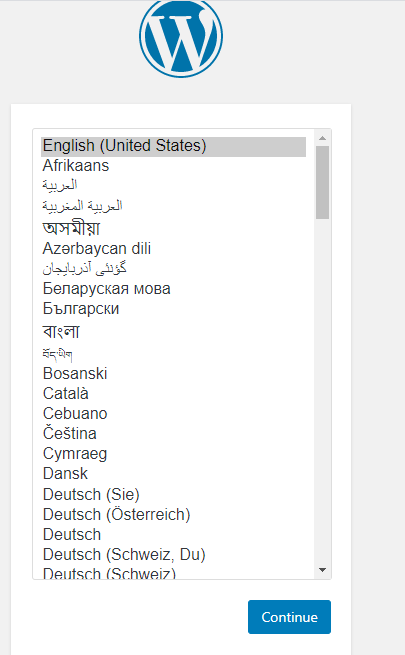
Now you can just select your language and click continue
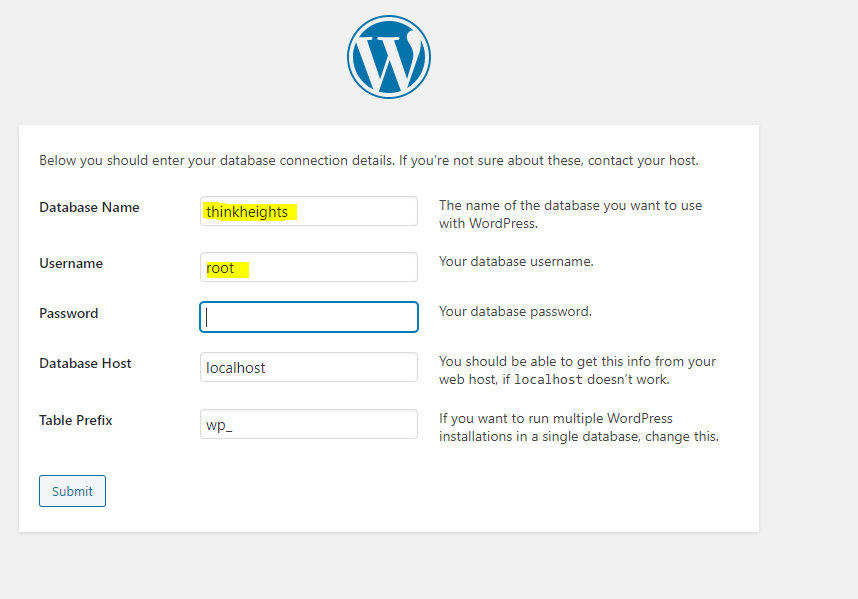
Then you will got the below screen.
Database Name: At which you created Database. (We created database with name Thinkheights)
Username: root
password: It should be blank.
Database Host: localhost (By Default It came)
Table Prefix: wp_ (You can change as well)
WordPress will create some tables after installation, Prefix they used as default.
After filling the required info, Submit.
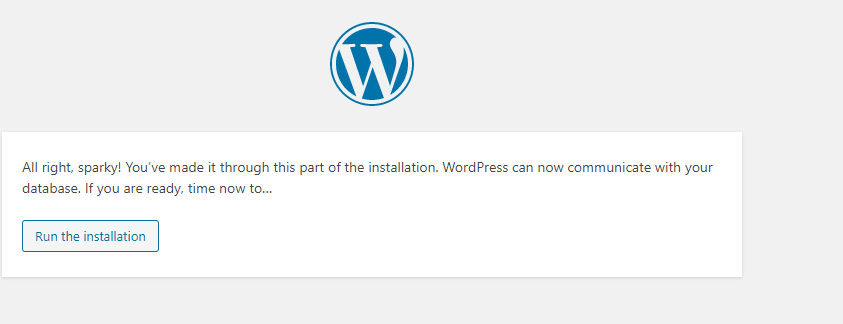
Then you came to the run the Installation. Click on it.
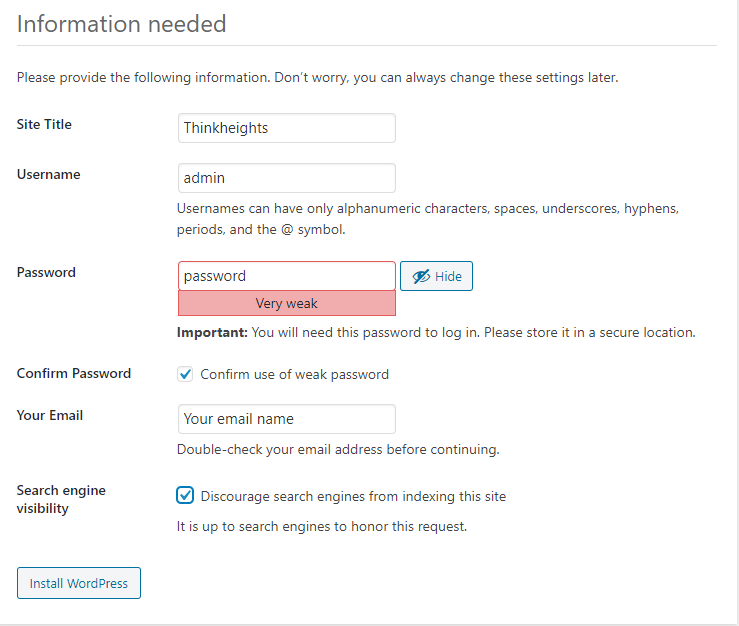
Now, in the Below screen, You need to provide some information.
Site Title: Website Title (You can change later)
Username: admin (You can change later)
password: ****** (You can change later)
Your email: use to recover your password
Search Engine Visibility: Tick Check Box (Recommended as Your site is not live yet, so discourage search engine to crawl your website, you can change later.)
Then Click on Install WordPress.
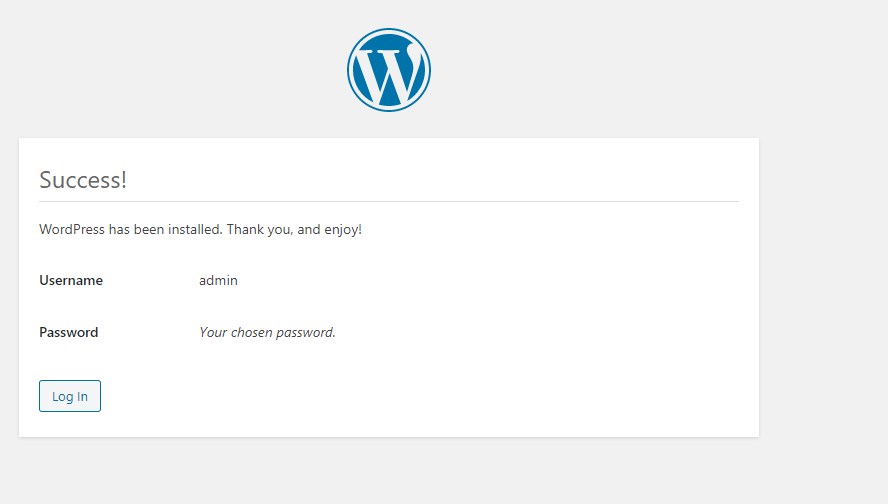
Now you got the success response, That means, WordPress in installed your local system successfully.
URLs for opening admin panel and site in LocalHost
localhost/your_folder_name : For viewing your website.
localhost/your_folder_name/wp-admin : For login in website’s admin panel.
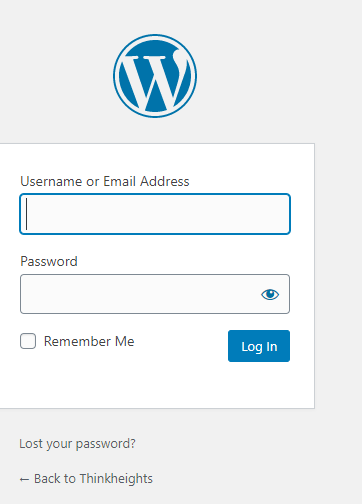
Your admin panel will get login with the credentials you give during installation.
Login Page:
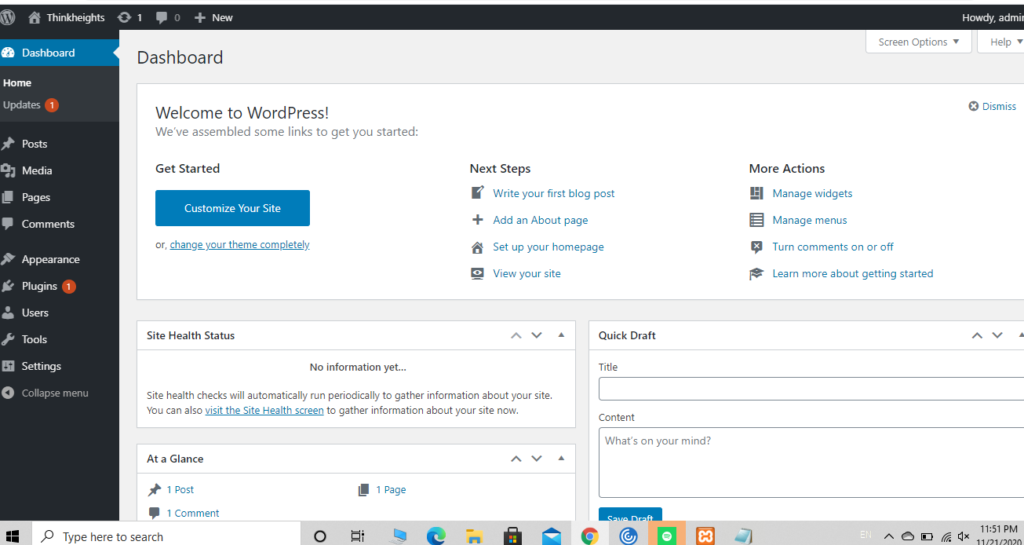
WordPress DashBoard
After Login in the admin panel, you will see many options, You can change the theme, Install the Plugins, Create pages, Posts and so many things from the admin panel. This will discuss in other Blogs.
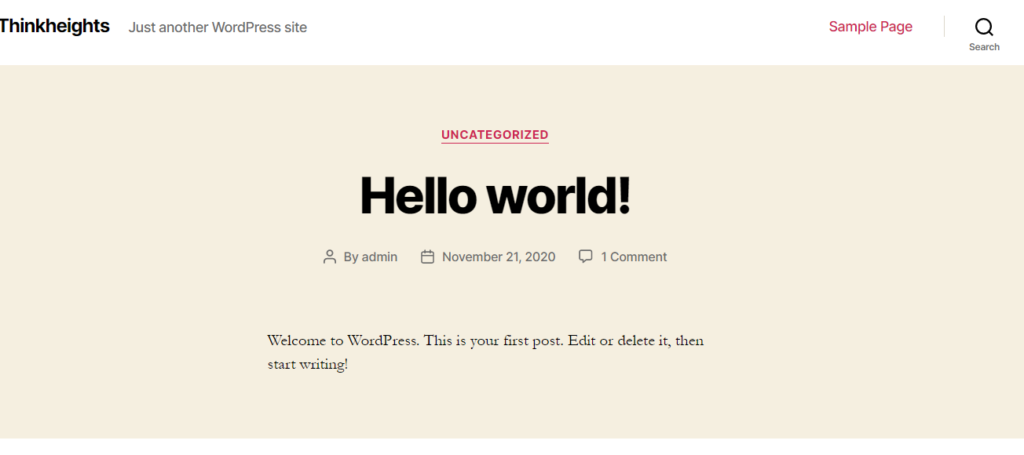
WordPress Site Opening
localhost/your_folder_name : For viewing your website.
All the changes which you did in the admin panel will reflect here on the site. You can see it here. Below is just the default theme.
This is the complete installation in the Localhost or your system step by step. Hopefully, you like it. If you have any feedback you can share us in the comments.
1 thought on “Install WordPress in LocalHost using Xammp”
Pingback: How to add and create a New page in WordPress (complete Details 2021)